
MACのVagrant開発環境
作業用ディレクトリ内のVagrantfileに以下のコマンドを追加
|
1 |
config.vm.synced_folder "./develop", "/var/source/develop", :create => true, :owner => 'vagrant', :group => 'vagrant', :mount_options => ['dmode=777', 'fmode=666'] |
./developは任意ですが、ホストOS側の作業用ディレクトリ内の同期フォルダ
/var/source/developも任意で、ゲストOS側の同期フォルダ
↓については後でバーチャルホストを設定するために以下のようにします。ip: “・・・”の中身は192.168.・・・.・・・にします。
|
1 |
config.vm.network "private_network", ip: "192.168.33.10" |
これらを設定します。設定したら
vagrant upでゲストOSを起動か、
vagrant reloadで再起動して、有効になります。
vagrant sshでsshに入ります。
↓のコマンドでhttpd.confを編集。
|
1 |
[vagrant@vagrant-centos65 ~]$ vi /etc/httpd/conf/httpd.conf ←大体ここの場所においてあります。 |
httpd.confの下のほうに↓のコマンドを追加。
|
1 2 3 4 5 6 7 8 9 |
<VirtualHost *:80> DocumentRoot /var/source/develop/public ServerName develop.vmlocal.local ErrorLog logs/develop.error_log CustomLog logs/develop.access_log common <Directory "/var/source/develop/public"> AllowOverride All </Directory> </VirtualHost> |
これを保存します。
一旦sshからexitでログアウト。
ホストOS側の方を編集します。
↓のファイルを編集。編集は要注意!
/private/etc/hosts
|
1 2 3 4 5 6 7 8 9 10 |
## # Host Database # # localhost is used to configure the loopback interface # when the system is booting. Do not change this entry. ## 127.0.0.1 localhost 255.255.255.255 broadcasthost ::1 localhost 192.168.33.10 develop.vmlocal.local <-これを追加 |
をテキストエディタで編集します。
ホストOS側の(作業用ディレクトリ内の同期フォルダ)/develop/public/の中にtest.phpをテスト用に追加。
例えば、↓のような感じで。
|
1 2 3 |
<?php phpinfo(); ?> |
ホストOS側の作業用ディレクトリ内でvagrant sshでsshにログイン。
|
1 |
[vagrant@vagrant-centos65 ~]$ sudo service httpd start |
これでOK。
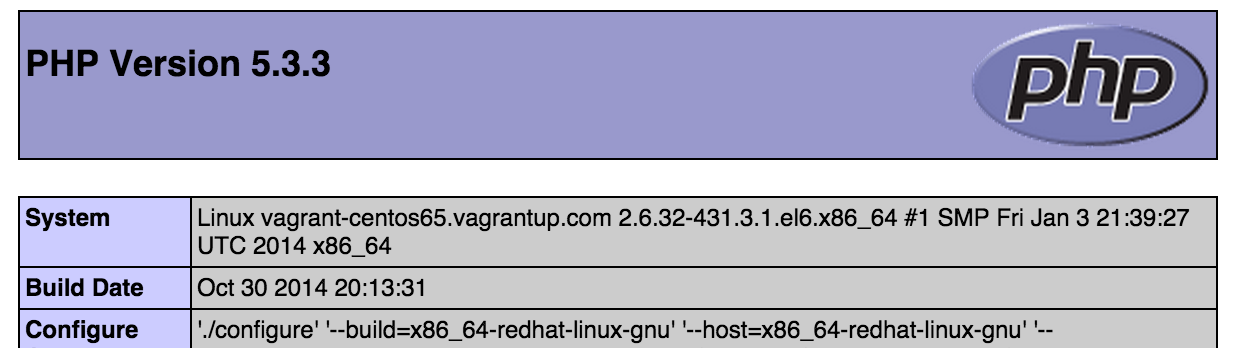
ブラウザからhttp://develop.vmlocal.local/test.phpで確認。
↓みたいな画面が表示されたらOKです。
El CapitanにしたらVagrantが動かなくなった場合
iOS10.11にアップロードしたらVagrantが起動しなくなってしまった。
次のようのエラーが出てしまった。
|
1 2 3 4 5 6 7 8 9 |
The Berkshelf version at "/usr/local/bin/berks" is invalid. Vagrant Berkshelf requires ~> 3.2, but the current version is 4.3.2. Please download and install the latest version of the ChefDK from: https://downloads.getchef.com/chef-dk and follow the installation instructions. Do not forget to add the ChefDK to your PATH. |
この場合
https://downloads.getchef.com/chef-dk
からiOS10.11対応のchef-dkをダウンロードしてインストール。
Vagrantディレクトリで
|
1 |
vagrant plugin install vagrant-berkshelf |
を実行して、
|
1 |
vagrant up |
を実行してみる。
しかし、↓みたいのエラーが出てしまう。
|
1 2 3 4 5 6 7 8 9 10 11 |
There was an error while executing `VBoxManage`, a CLI used by Vagrant for controlling VirtualBox. The command and stderr is shown below. Command: ["hostonlyif", "create"] Stderr: 0%... Progress state: NS_ERROR_FAILURE VBoxManage: error: Failed to create the host-only adapter VBoxManage: error: VBoxNetAdpCtl: Error while adding new interface: failed to open /dev/vboxnetctl: No such file or directory VBoxManage: error: Details: code NS_ERROR_FAILURE (0x80004005), component HostNetworkInterface, interface IHostNetworkInterface VBoxManage: error: Context: "int handleCreate(HandlerArg*, int, int*)" at line 66 of file VBoxManageHostonly.cpp |
どうやらVirtualBoxが問題なようです。
それでVirtualBoxを再起動してみる。
|
1 |
VirtualBox restart |
もしくは、
|
1 |
launchctl load /Library/LaunchDaemons/org.virtualbox.startup.plist |
でもダメなので、
VirtualBoxを最新のものにUPLOADしたのですが、
まだ↓のエラー。
|
1 2 3 4 5 6 7 8 9 10 11 12 13 14 15 16 17 |
The provider 'virtualbox' that was requested to back the machine 'default' is reporting that it isn't usable on this system. The reason is shown below: The provider 'virtualbox' that was requested to back the machine 'default' is reporting that it isn't usable on this system. The reason is shown below: Vagrant has detected that you have a version of VirtualBox installed that is not supported. Please install one of the supported versions listed below to use Vagrant: 4.0, 4.1, 4.2, 4.3 Vagrant has detected that you have a version of VirtualBox installed that is not supported. Please install one of the supported versions listed below to use Vagrant: 4.0, 4.1, 4.2, 4.3 |
今度はVagrantがVirtualBoxのバージョンに対応していないという様子。
なので、Vagrantもアップロード。
アップロード後、vagrantのコマンドが使えないので、MACをリロードして、解決!!